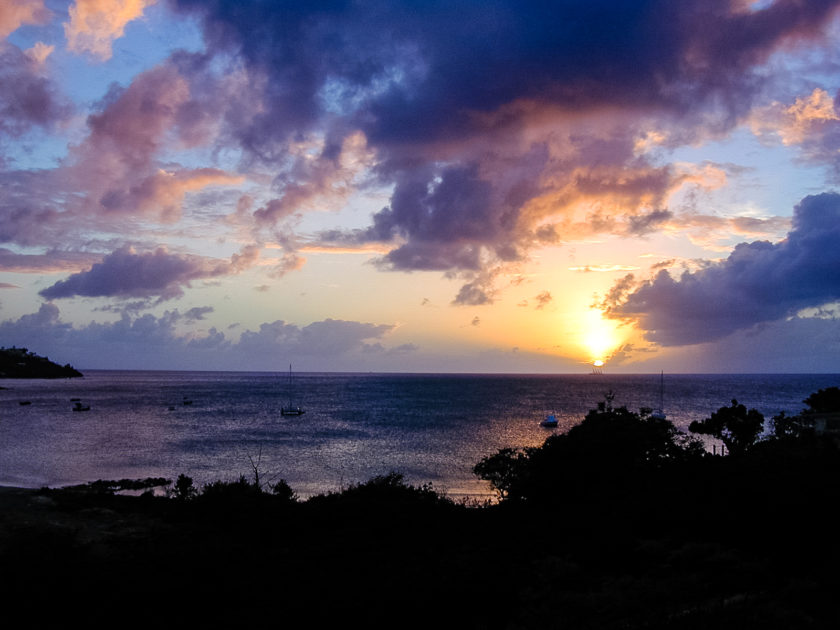
DIY stacked washer and dryer
As you can see, the laundry room in our new rental house has a strange configuration. It was added on to the outside of the house by enclosing a former side entrance. The guy who owns the house claims it works fine with a standard top loading washer and a front loading dryer if the washer is back in the corner and the dryer is positioned in the door (as shown above). Even if you could make that work I’m not sure how you would get to the clothes in the bottom of the washer as there would be no room to squeeze in past the dryer to get to the washer. You’d have to belly flop over the dryer and flail around with your legs in the air to fish out stray socks! Here are a few shots of the empty laundry room:
Our problem was compounded by the fact that we have a set of Bosch front loading machines. Putting them in the laundry room as shown above made it impossible to open the door to the washer and there was no other alternative.
So, being the handyman that I am I decided to build a rack to stack the washer and dryer. (Recall that we rent this house so a remodeling project is not an option right now.) I started off by removing the pedestal bases from the washer and dryer so that the stack height would fit under the relatively low ceiling of the laundry room:
Then, after taking a few simple measurements (width/height/depth of washer and dryer & laundry room), I built a simple two sided frame with 2″ x 6″ legs and 2″ x 4″ cross bars (rounding off all edges with a 1/4″ half-round bit, of course):
Next, I cut down, assembled and attached a 3/4″ thick plywood deck (made up of some scrap shelving I had lying around), added a horizontal brace across the bottom and a diagonal brace across the back to tie the structure together. I chose kiln dried pine because it is cheap, strong and a little flexible (to help absorb vibrations):
I test fit the washer, hooked up the water lines and gave it a trial run:
That’s where things got a little crazy. During the initial spin cycle the washer became extremely unbalanced and was banging around under the frame, generally sounding like it was going to tear itself and my new frame apart. I have experienced this type of thing with traditional top loading washers when the load becomes unbalanced but this was different. This front loading washer has never exhibited such behavior. I was afraid something had happened to the washer during the move. So, not knowing anything else to do, I pulled it out from the wall and climbed behind to disconnect the hoses and take a look. That’s when I discovered these:
Moving bolts! Apparently the moving company installed these for the move but did not remove them when they delivered the washer. It seems they are used to limit the motion of the drum during transport to prevent damage to the washer. I removed them and the washer resumed its usual high speed precision hum during its spin. Disaster avoided! With the dryer in place on top all I had to do was make up a new 10′ long 220v plug for the dryer, run some ducting and everything was good to go:
Unfortunately, the controls are on the top of the dryer so my wife has to use a step stool to reach the controls (which she now knows by feel). We have been using this set-up daily for the past three months and it seems to be doing just fine. It’s not the most ideal configuration but it’ll work for now. Oh, and it only took about $40 and an afternoon to do!


